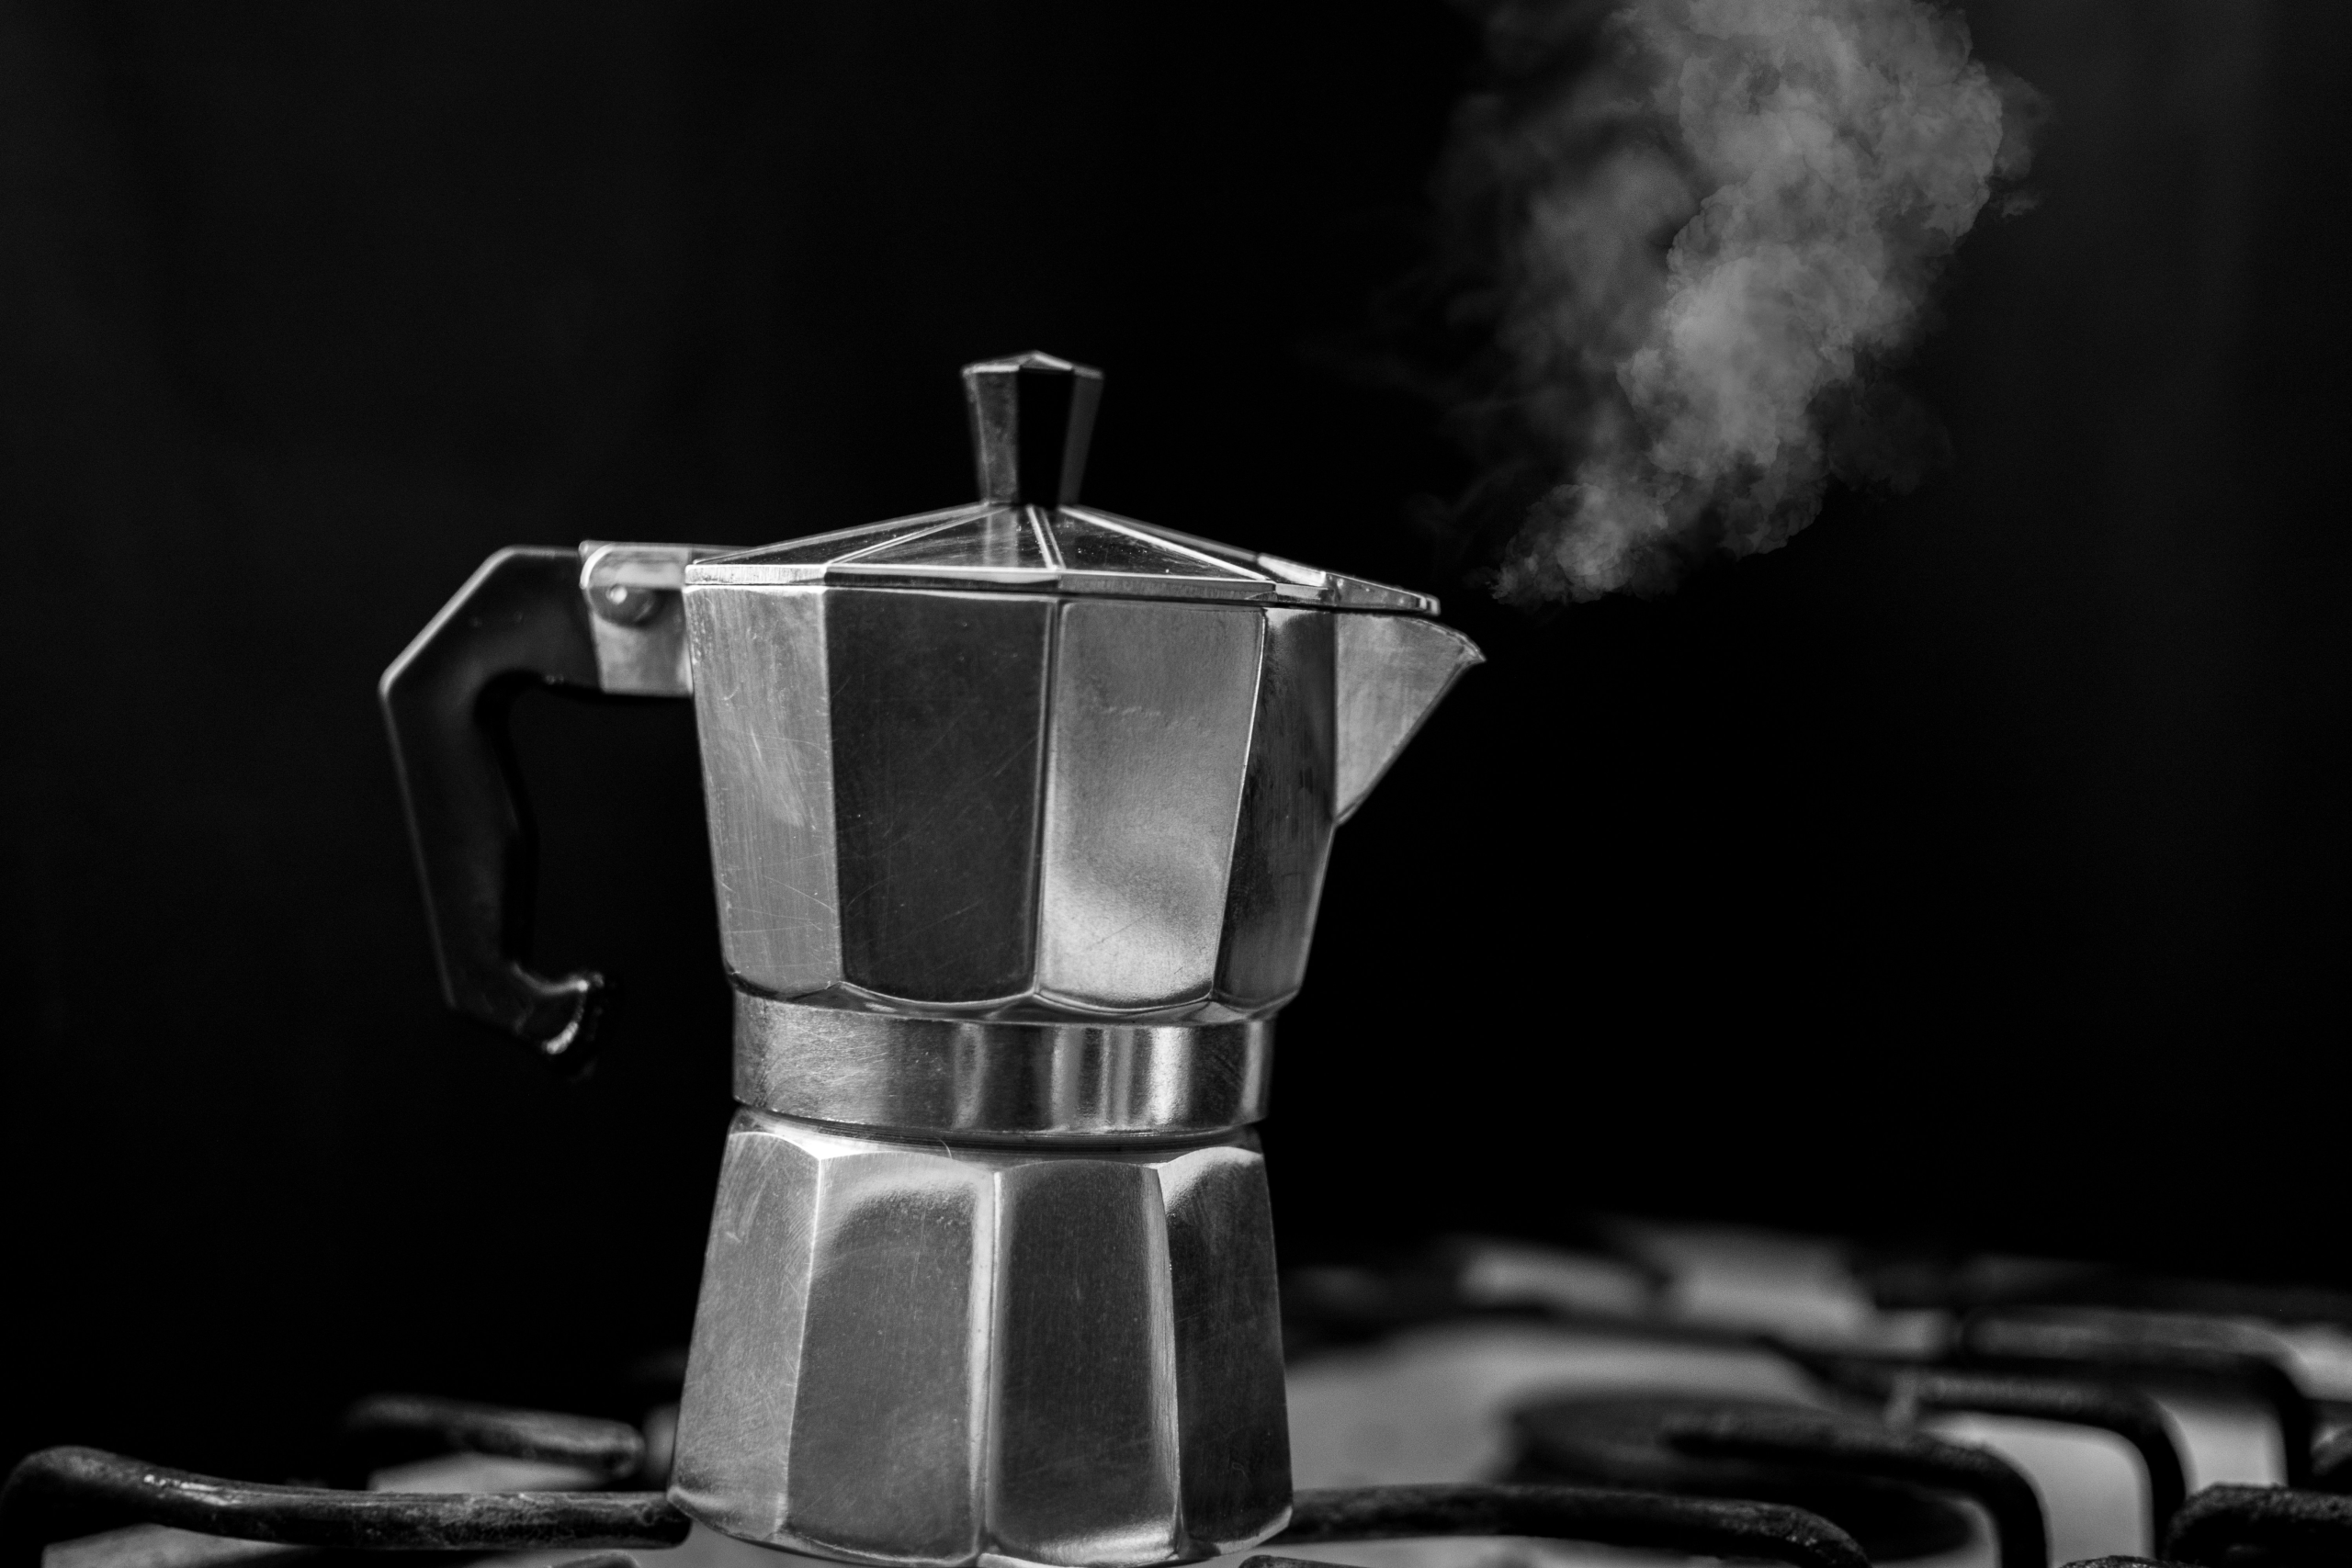
Somewhere between espresso and drip, there lives a little stovetop miracle known as the Moka pot.
It’s not flashy. It doesn’t blink at you from a countertop or whir like a luxury espresso machine. But it delivers bold, concentrated coffee with a kick strong enough to get you through the thick of the shift—especially if you treat it right.
Let’s walk through the do’s, don’ts, and why boiling water makes all the difference. And while we’re at it, we’ll help you pick the best roast and grind size to get your brew just right.
First, A Story from the Stove
The first time I made coffee in a Moka pot, I messed it up.
I used cold water from the tap, the grind was too fine, and the heat was cranked so high that I basically welded the top and bottom together with scorched grounds. I could’ve used that thing to pave asphalt.
But over time, I learned that the Moka pot isn’t some backup plan for when your coffee maker dies. It’s a standalone brewing method worthy of its own space in your kitchen—if you know how to respect it.
That’s what we’re going to cover today.
What Is a Moka Pot Anyway?
Invented in Italy in 1933 by Alfonso Bialetti, the Moka pot is a stovetop espresso maker that uses steam pressure to push water up through finely-ground coffee and into the upper chamber.
You get a rich, strong brew—not quite espresso, not quite drip—but perfect for sipping black, adding milk, or using as a base for other drinks.
Step One: The Grind
This is where most people get it wrong.
They use espresso-fine grinds or whatever pre-ground stuff is already in the kitchen, and then wonder why their Moka pot spews bitterness instead of boldness.
Here’s the rule: use a grind size somewhere between espresso and drip. Think fine sand—not powdered sugar.
Too fine, and you risk clogging the filter and over-extracting the coffee. Too coarse, and the water rushes through too fast, giving you a weak and watery cup.
If you’re grinding your own beans (and you should be), aim for something like:
- Drip grind with a finer edge.
- A little finer than table salt.
- What you’d use for an AeroPress with a 1–2 minute brew time.
A burr grinder gives you the best control here. Blade grinders are cheap and loud but tend to create inconsistent particle sizes, which messes with the extraction.
And if you need a grinder, we’ll point you toward some great budget-friendly options that can go toe-to-toe with pricier gear.
Step Two: The Roast
You can technically use any roast in a Moka pot, but certain roasts just sing in this method.
Tried by Fire, our dark roast, was born for the Moka pot.
Why?
Because the Moka brings out richness and depth. A darker roast complements the heavier body and adds that smoky, caramelized finish that clings to the tongue in the best way.
If you prefer something smoother, Standard Issue, our medium roast, delivers a balanced cup without losing complexity. It’s the dependable go-to for daily brewers.
And if you want to go light and still have impact, First Light has enough character to hold up, especially if you shorten the brew time slightly.
Step Three: The Water
This one’s a big deal—way bigger than people think.
Most folks fill the bottom chamber of the Moka pot with cold water. It’s what the directions say. It’s what the box says. It’s what the internet said in 2012.
But here’s what happens with cold water:
- The pot takes longer to build pressure.
- While it heats, the coffee is already sitting in the chamber, slowly baking before brewing even starts.
- You end up with bitter, burnt, or over-extracted sludge.
The fix? Use hot, pre-boiled water.
That one switch does two things:
- Speeds up the brew process.
- Keeps the grounds from overheating before extraction.
Yeah, it means you’re handling a hot base chamber. So be careful. Use a towel or oven mitt to screw the top on. But the payoff in flavor is more than worth the extra care.
Step Four: The Heat
Keep it low.
Moka pots aren’t built for high flames or full-bore burners. Cranking the heat scorches the bottom, burns the coffee, and can even ruin the seal over time.
Once everything is assembled:
- Place the Moka pot on medium-low heat.
- Leave the lid open and listen.
- When you hear a gurgling sound and see coffee filling the upper chamber, remove the pot from the heat.
Done right, it should sound like a cat snoring—or a steady burble of satisfaction.
Don’t wait for it to spurt and hiss violently. That means you went too far.
Step Five: Stir and Serve
The coffee in the top chamber won’t always be uniform—some will be stronger, some lighter.
Give it a gentle stir with a spoon before pouring to balance the flavor. Then serve it up however you like it:
- Straight and black.
- Cut with steamed milk.
- Turned into an iced drink.
- Or over ice cream for a quick affogato.
When Should You Choose Moka Over Other Methods?
There’s no wrong way to brew coffee. But there are situations where the Moka pot punches above its weight class.
- You want espresso-style strength without an espresso machine.
- You like bold, rich coffee that doesn’t need milk but welcomes it.
- You’re brewing for 1–2 people and don’t want a full pot.
- You like being a little more hands-on.
It’s also perfect for the guy or gal working out of a tiny kitchen, a camper, or an off-grid setup. No electricity needed. Just heat, grind, water, and beans.
Common Mistakes to Avoid
Let’s rapid-fire the rookie mistakes so you don’t make them:
- Cold water in the base = bitter coffee.
- Too fine grind = clogs and over-extraction.
- High heat = burns the bottom and the brew.
- Leaving it on the stove too long = dry pot and scorched seal.
- Not cleaning it = old oils = rancid taste.
Clean your Moka pot with hot water only. No soap, no dishwasher. Just rinse and wipe.
Treat it like cast iron—seasoned with use, but not coated with yesterday’s brew.
Bonus Hack: Use Filter Paper
Some folks line the filter basket with a small circular cut of paper filter (like from an AeroPress or trimmed drip filter).
This adds a layer of clarity to the cup and reduces sediment. It’s optional, but worth trying if you’re chasing perfection.
The Ritual That Grounds You
There’s something about standing at the stove, watching the steam rise, waiting for the first hiss of coffee to fill the top.
It slows you down.
It invites presence.
And sometimes, that moment—the few minutes it takes to make a cup—grounds you better than the coffee itself.
Moka Pot Gear We Recommend
If you’re just getting started, here’s what we suggest:
- 3-cup or 6-cup Moka pot (Bialetti or similar)
- Manual or electric burr grinder
- Gooseneck kettle or stovetop kettle
- Airtight coffee storage (like an Airscape or simple mason jar)
And of course, grab a bag of our Tried by Fire or Standard Issue—roasted in small batches and shipped fresh, whole bean only.
Because that’s how coffee should be: fresh, simple, powerful.
You Don’t Need Fancy Gear to Brew Great Coffee
You just need the right grind, a little patience, and beans that were roasted with purpose.
At Dark Shift Coffee Co., we’re here for the builders, the grinders, and the ones keeping the world running. One cup at a time.
Whether you’re brewing before your shift or fueling your side hustle long after the house is quiet, the Moka pot can be your secret weapon.
And once you get it dialed in, it’ll never let you down.